Your car’s windshield is critical for maintaining structural integrity and ensuring clear visibility. Chips and cracks in your windshield, while common, require prompt attention to prevent them from worsening. Though professional repair is often recommended, minor chips can sometimes be addressed with a DIY approach. Here’s a comprehensive guide to DIY windshield chip and crack repair, along with essential tips to ensure safety and effectiveness.

1. Assess the Damage
Before proceeding with any DIY repair, it’s essential to evaluate the severity of the damage:
- Minor Chips: Small chips (less than a quarter in size) or short cracks can often be repaired with a DIY kit.
- Deep Cracks: Larger or deeper cracks typically require professional intervention to restore the windshield’s structural integrity.
If the damage obstructs your line of vision or affects the edges of the windshield, DIY methods are not recommended.
2. Gather the Right Tools
Investing in a good-quality windshield repair kit is crucial for effective results. Most kits include:
- A resin applicator
- Curing strips
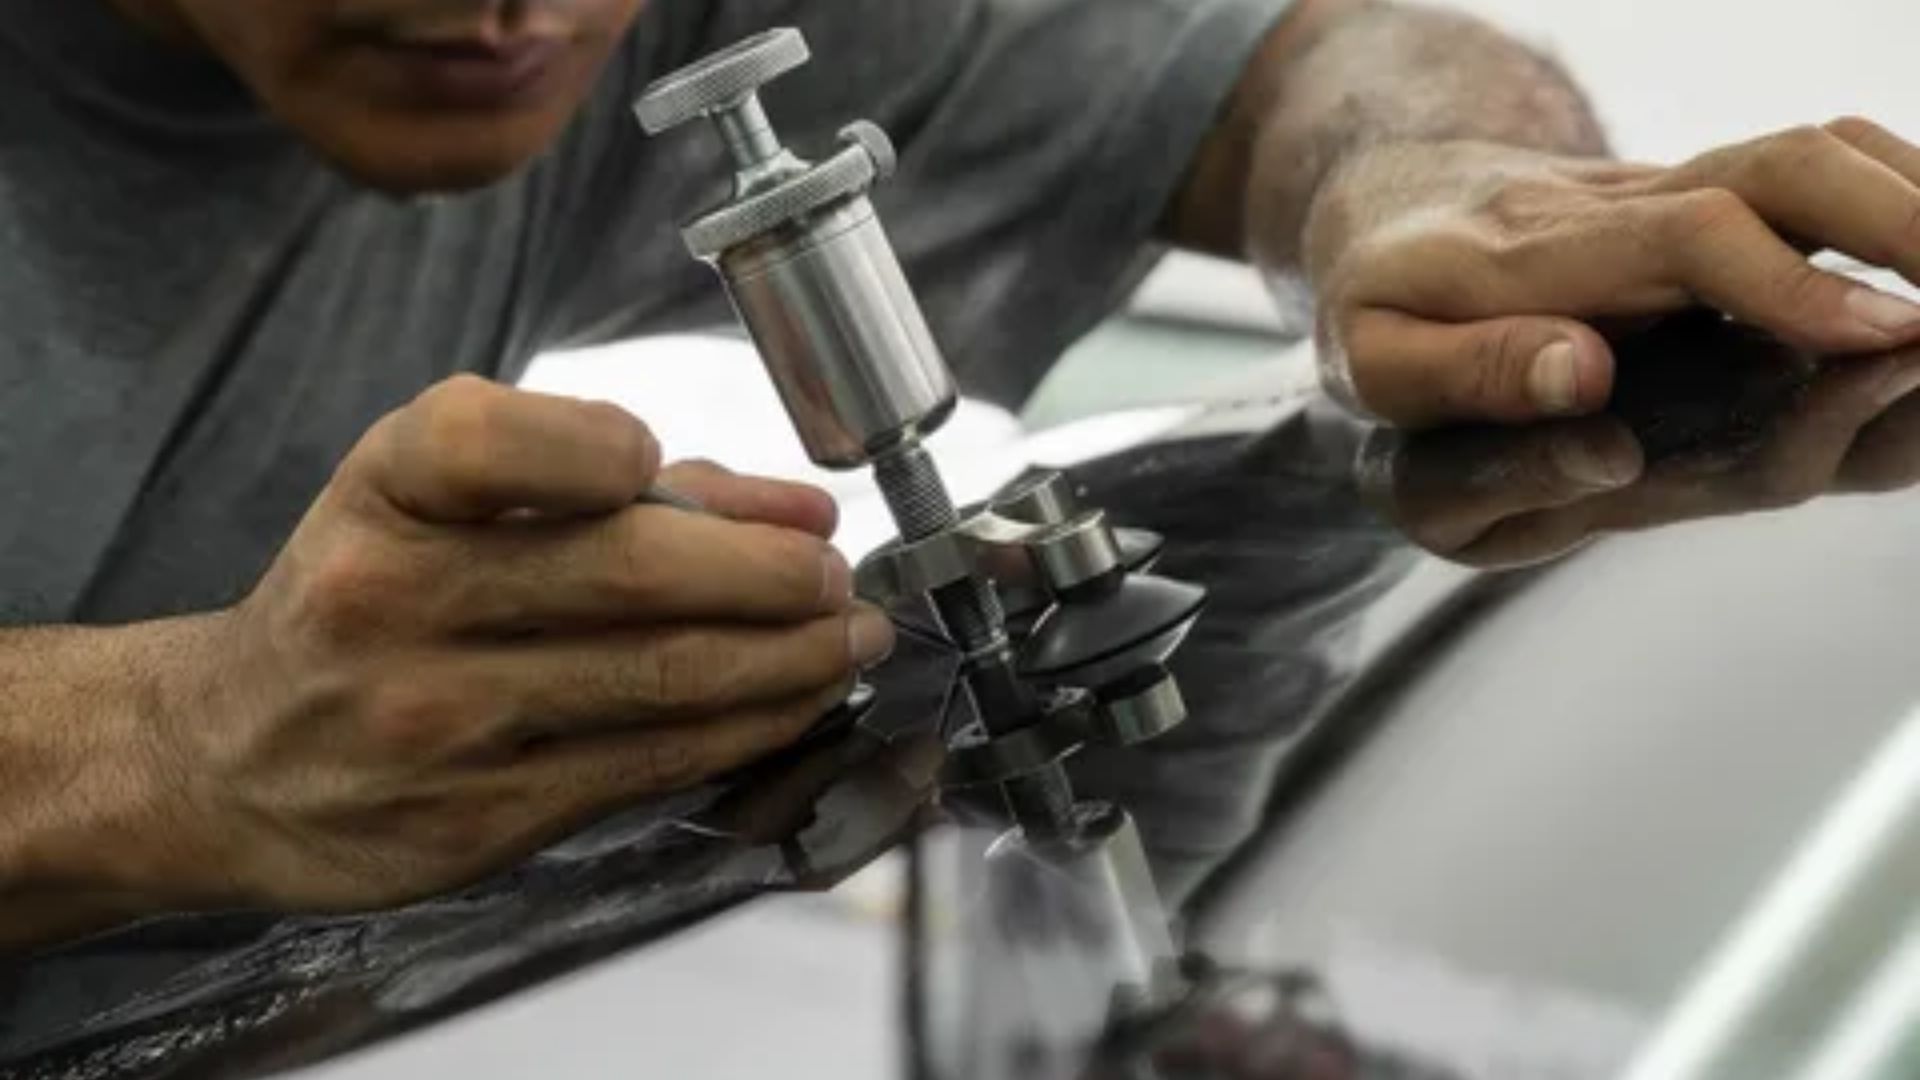
- A suction tool to ensure resin flows into the crack
- Instructions for proper use
These kits are readily available online or at auto stores and are designed for small-scale repairs.
3. Prepare the Windshield
Cleaning and preparing your windshield is a critical step to ensure the resin adheres properly:
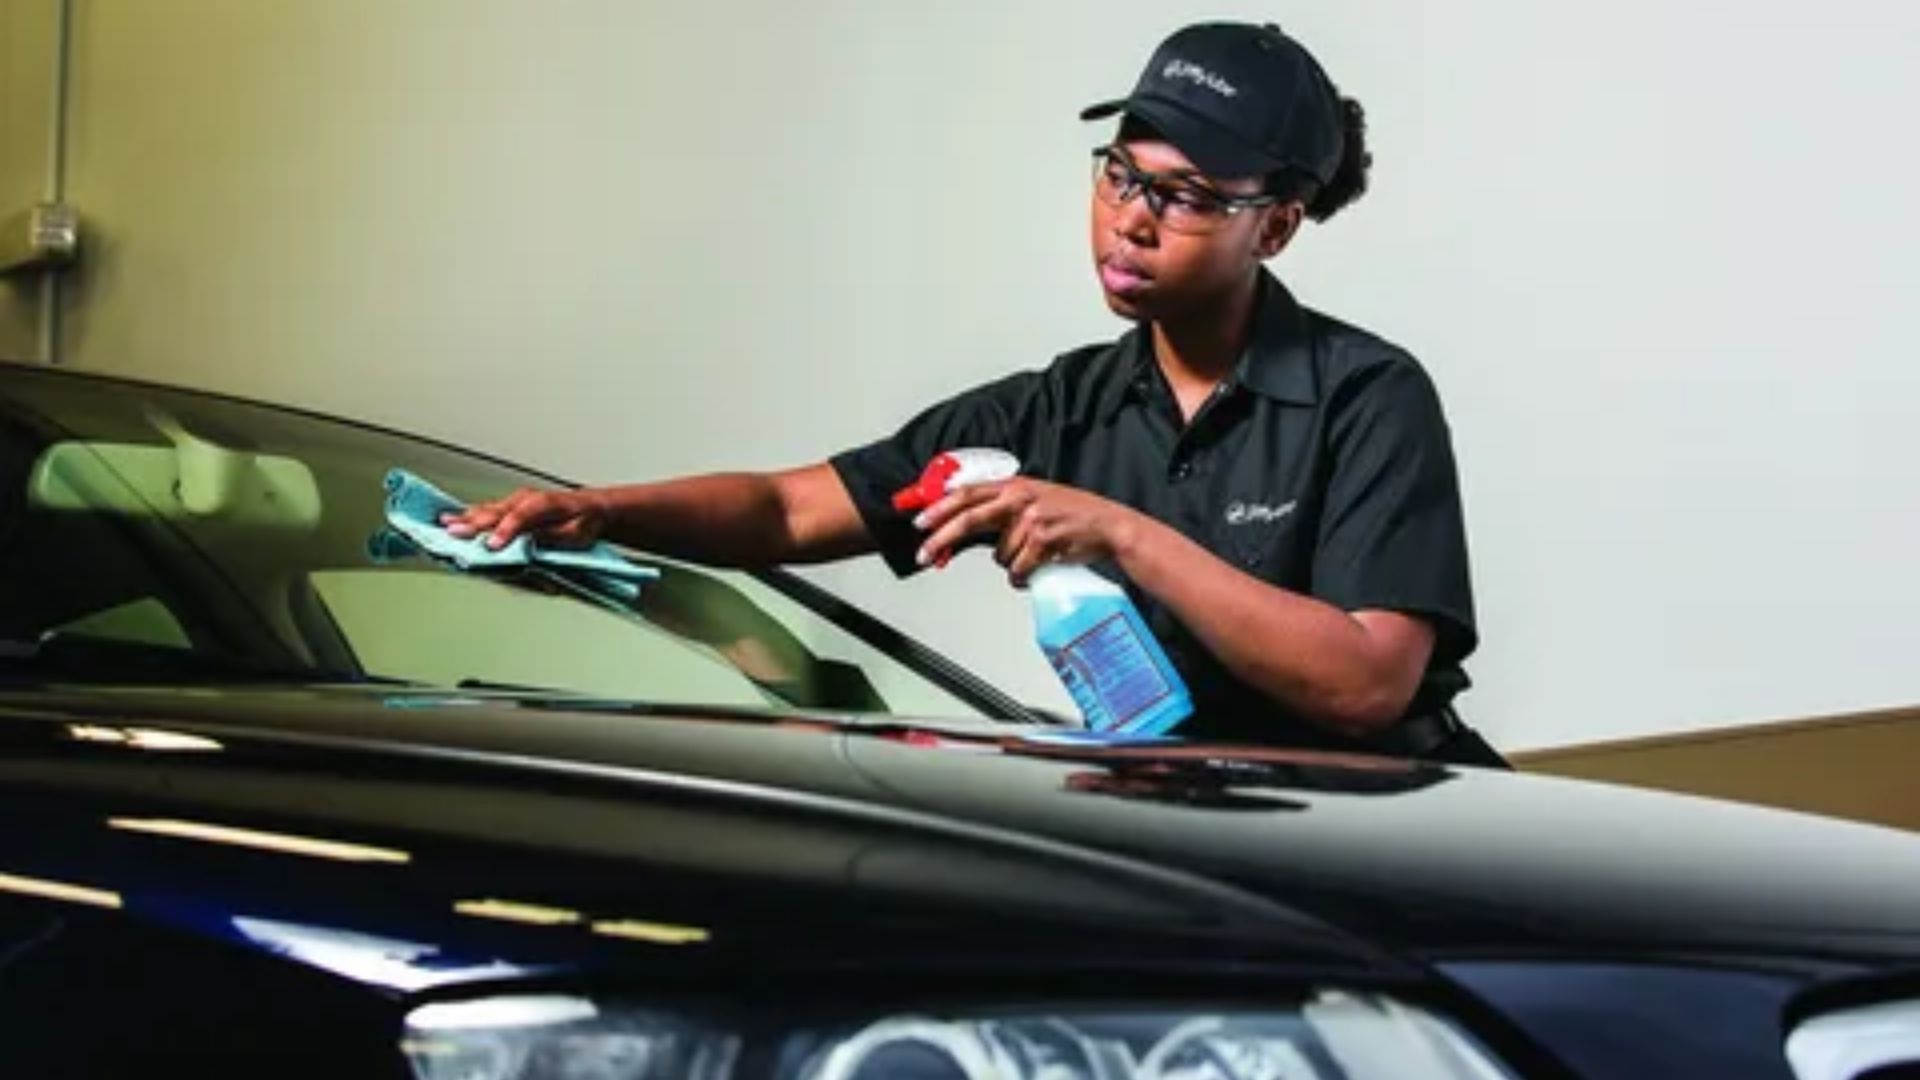
- Clean the Area: Use glass cleaner or isopropyl alcohol to remove dirt and debris around the chip or crack.
- Dry Completely: Ensure the windshield is dry before applying the resin, as moisture can prevent proper bonding.
- Park in the Shade: Work in a shaded area to prevent the resin from curing too quickly.
4. Apply the Resin
Follow these steps to complete your DIY windshield repair:
- Position the Applicator: Center the suction tool over the damaged area and secure it firmly.
- Inject the Resin: Apply the resin into the crack or chip using the applicator.
- Remove Air Bubbles: Use the suction tool to create pressure, ensuring the resin fills the crack evenly.
- Cure the Resin: Place the curing strip over the resin and expose it to sunlight or a UV light source to harden the material.
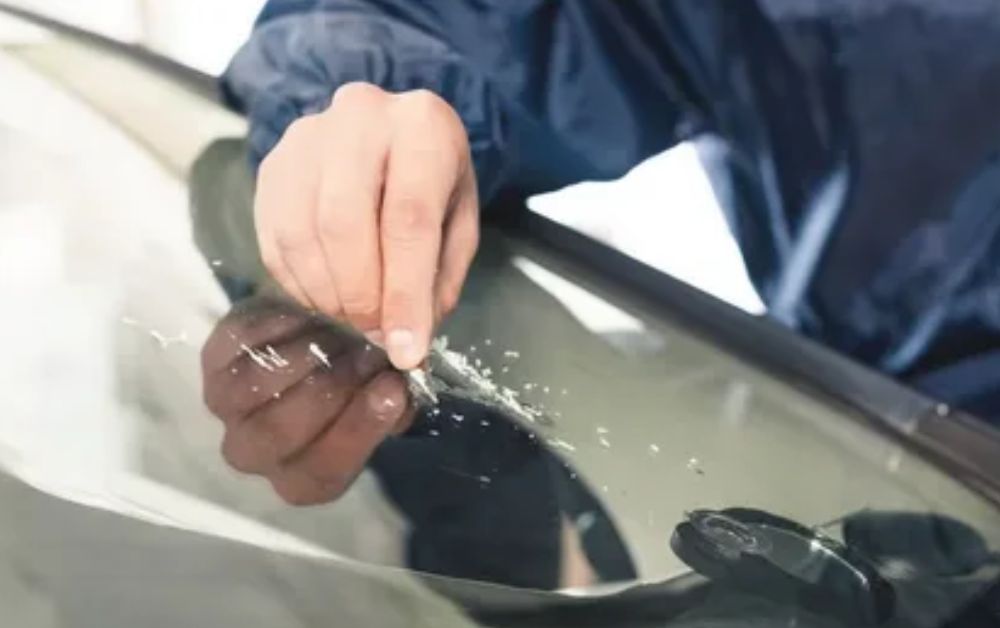
- Scrape Off Excess Resin: After curing, use a razor blade to remove any excess resin for a smooth finish.
5. Evaluate the Results
Once the repair is complete, inspect the area to ensure the crack or chip is no longer visible and the windshield’s surface is smooth.

Conclusion
While DIY windshield repair can be an affordable and convenient option for minor chips, it’s not always the best solution for long-term durability or safety. Professional expertise is essential for larger or more complex damages.
For reliable and efficient windshield solutions, trust Windmaster Autocare LLC. Whether you’ve attempted a DIY repair or need help with a more severe crack, their experienced technicians ensure top-notch service. When it comes to DIY windshield chip and crack repair, remember that Windmaster Autocare LLC is always here to provide expert care when you need it most. Reach out today for exceptional auto glass services!


