
Your car’s windshield is more than just a window—it is a critical safety component. It provides structural support, protects passengers from debris, & ensures clear visibility while driving. Over time, windshields can crack, chip, or shatter due to accidents, weather, or road hazards. When damage occurs, professional replacement is must for safety & functionality. In this guide, we’ll walk you through the step-by-step process of changing the windshield of the car, highlighting what professionals do to ensure a secure and long-lasting installation.
Auto Glass / Windscreen Service For All Brands & Models
Although some drivers may have done the job themselves, replacing a car windshield is not easy. Incorrect installation can be dangerous, as it can lead to leaking or cracking when disassembled. Professional services offer:
- Comply with Safety Requirement: The recorded video on this dash cam is overwritten in a loop when the SD card is full.
- Proper Tools and Materials: An installer has access to the correct tools and suction cups for a clean fit.
- Warranty and Assurance: Dependable auto glass companies offer warranties for safe driving for years to come.
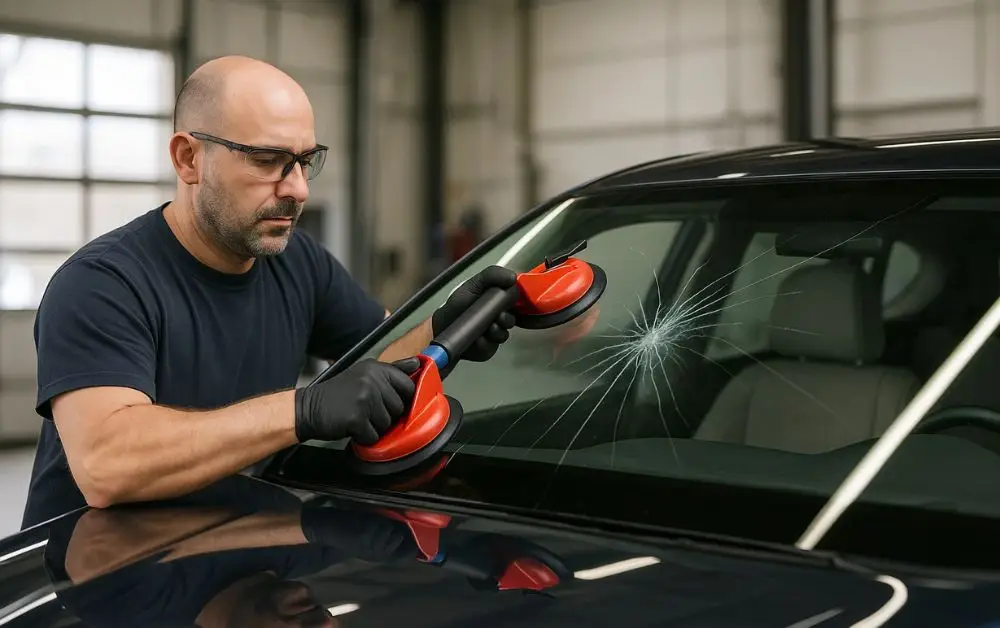
Step 1: Assessing the Damage
The preliminary step in the process of replacing glass on a vehicle is to do an evaluation. Inspectors check for cracks, chips, and the glass’s overall soundness. Some may be fixed, but if one is causing a driver to have reduced visibility or compromising structural integrity, it’s got to go/replaced. During this stage:
- The technicians determine the windscreen model that suits your car.
- They look for integrated sensors, cameras, or heating elements that might impede installation.
Anything that may be wrong with the vehicle is noted, so your transaction will not be disrupted by any unpleasant surprises.
Step 2: Preparing the Vehicle
Before removing the old windshield, technicians prep the car’s interior and exterior:
- Protection: Dashboards, seats, and other areas are protected from dirt and debris.
- Unplugging Electronics: Rain-sensing, cameras, or heads-up display vehicles should be carefully unplugged, or they may have issues.
- Take off Wipers and Trim: You would also have to remove the car windshield wipers, moldings, and trims to reach the entire edge of the glass.
This allows for a clean workspace with no accidental damage during removal.
Step 3: Getting The Old Windshield Out
The removal of the damaged windshield is easy and should be handled with care:
- Cutting the Adhesive: With special tools, technicians cut through the urethane seal that fastens the windshield.
- Raising the Glass: The old windshield is carefully raised out via suction cups to avoid breaking anything or anyone.
- Frame Clean Up: Wrapper adhesive and any other particles are cleaned off, and the frame is checked for rust or gouges.
This is important as any remaining contamination or irregularity will affect the seal of the new windscreen.
Step 4: Preparing the New Windshield
After the old windshield is cut out, the next piece of glass may be installed:
- Primer Application: A primer is sprayed onto the car frame to improve adhesion and reduce leaks.
- Fitment Tests: The new windshield is installed and checked for fit before the adhesive is applied.
- Making Adhesive: Professionals will secure the glass with a safety-certified, urethane-based adhesive.
Preparation is key to the windshield fitting and functioning as it should.
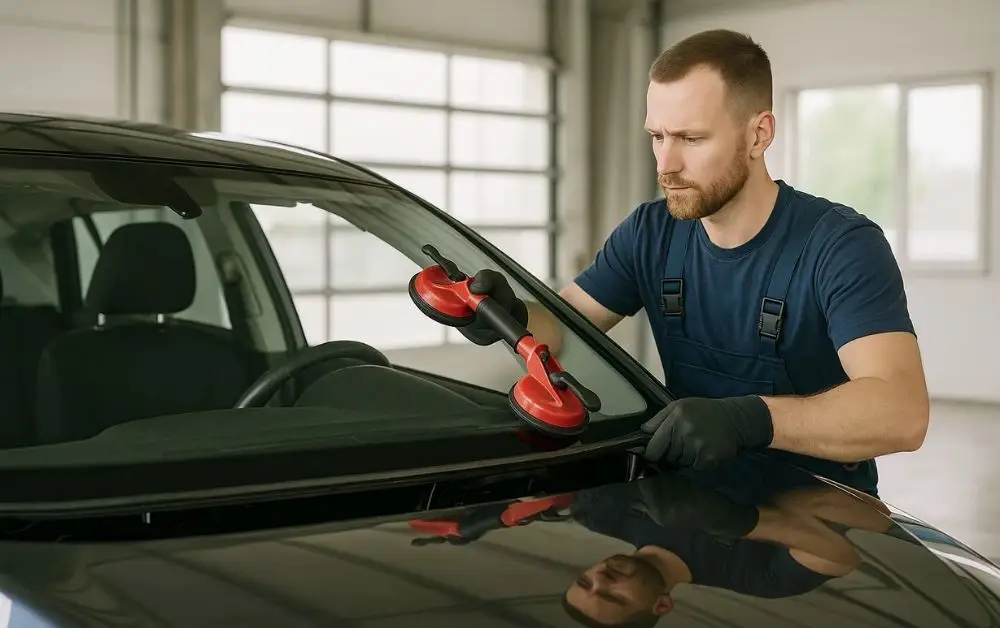
Step 5: Installing the Windshield
With the brand new car windshield prepared, specialists fit it on your car:
- Accurate position: Need smaller suction cups for the windows without directly touching the frame.
- Adhering with Adhesive: Urethane is applied to the perimeter, and the glass is adhered to the urethane.
- Adjustments: Technicians check for alignment and make minor adjustments to ensure the windshield fits flush in the frame.
This process is essential to address aesthetic & safety concerns, as even slight misalignments can compromise stability.
Step 6: Setting and final checks
Once the adhesive is applied, it needs to set to reach full strength:
- Time to Cure: For modern urethane adhesives, curing usually takes 1-2 hours for short drives and about 24 hours to achieve a complete cure.
- Final Check: Your new windshield is examined for leaks, spaces, fit, and form.
- Reinstalling Components: Wipers, trims, and electronic connections are restored, and functionality is checked.
The curing process and final inspection ensure that the windshield fits properly & is securely fastened for daily driving.
Suggested Read – How Do Professionals Repair or Replace Car Glass?
Step 7: Post-Installation Care
Once applied, techs offer advice for post-application care to ensure longevity:
- Do Not Stress the Glass: Do not slam doors or seat belts into the door, or try to force them into place after glass installation.
- Gentle Cleansing: Wipe down with soft cloths and non-abrasive cleaners to avoid scratches.
- Check for Leaks: Monitor the water penetration within the first couple of days to ensure that your seal is working.
When you go with the above suggestions, you get a safe and reliable-looking installation.
In Conclusion
Replacing a car windshield is a precise and safety-critical task that requires professional skills, tools, & materials. From assessing the damage to curing the adhesive, each step ensures that your vehicle remains safe, structurally sound, & comfortable to drive, whether your windshield is cracked, chipped, or completely shattered. Professional installation guarantees that the replacement meets safety standards & lasts for years.
For anyone changing a car windshield in Abu Dhabi, choosing a trusted service provider is essential. Windmaster Autocare LLC gives expert technicians, high-quality glass, and precise installation, ensuring your vehicle is safe, secure, and ready for the road.